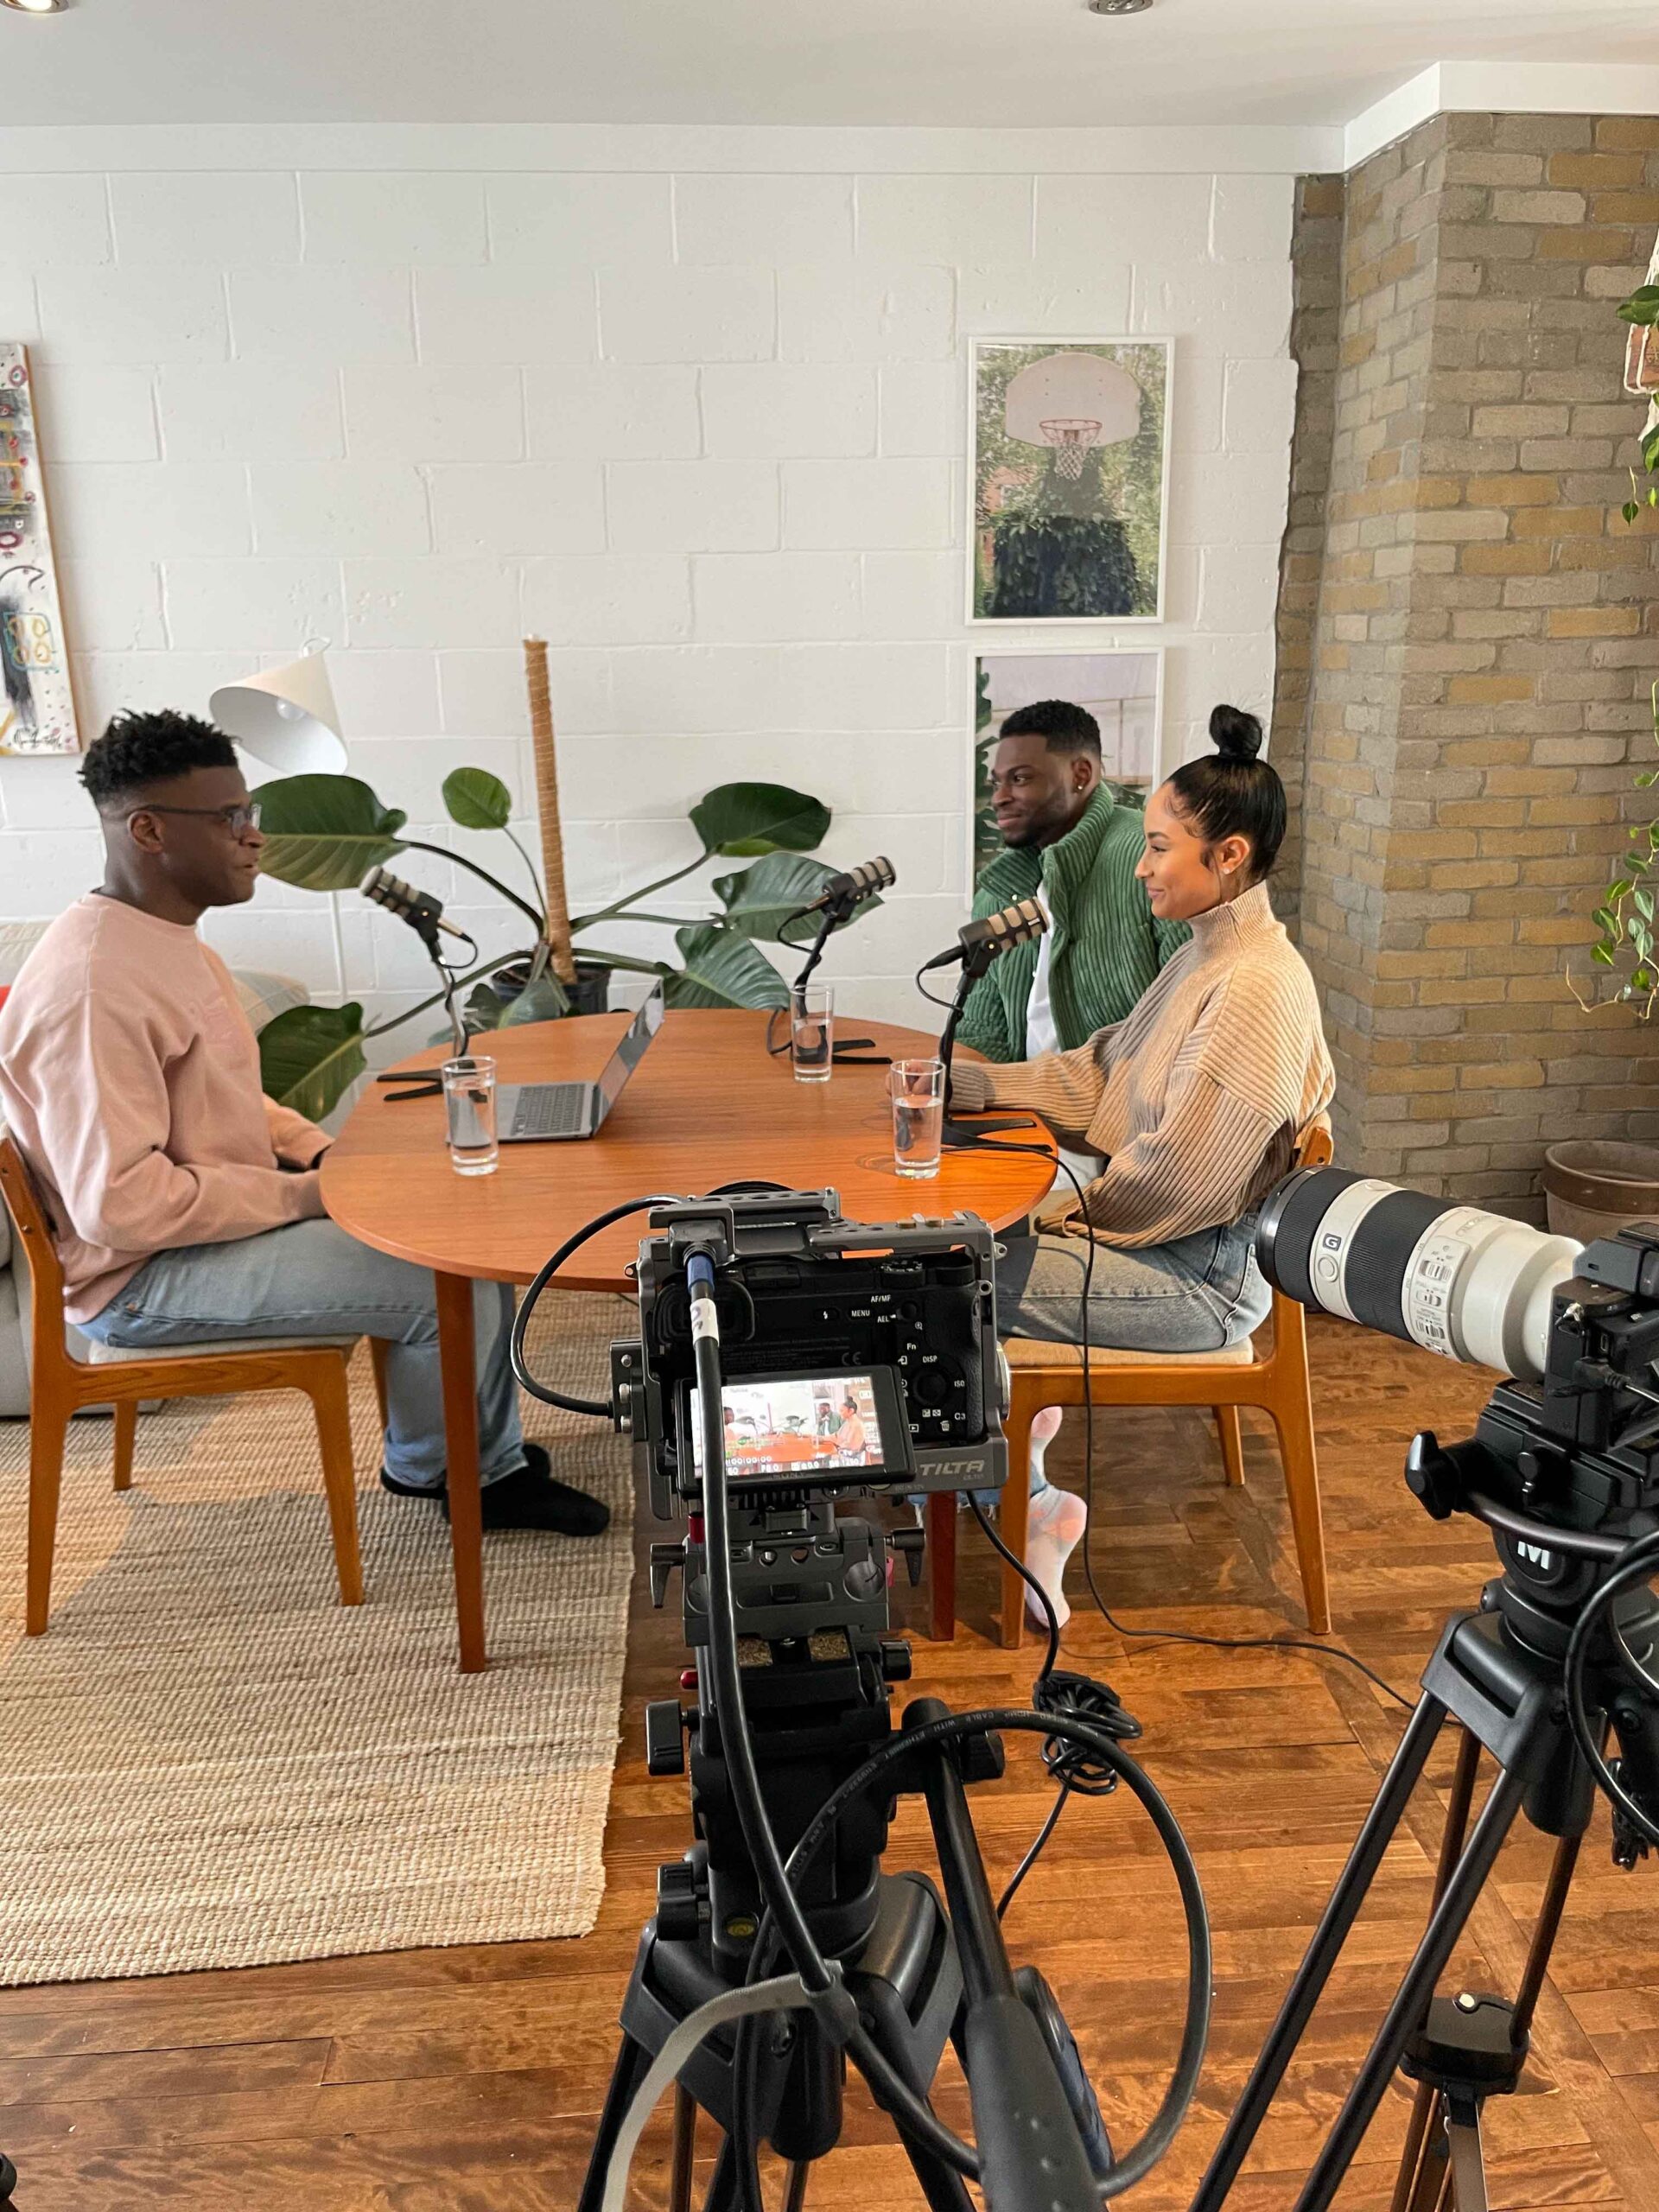
How to Create a Professional Video Podcast with Multiple Cameras and Microphones
How to Create a Professional Video Podcast with Multiple Cameras and Microphones

In the dynamic world of digital content creation, video podcasts have become a powerful medium for engaging audiences. To elevate your podcasting game, consider incorporating three cameras and three microphones for a more immersive and professional experience. In this guide, we'll walk you through the hardware setup, software requirements, and the step-by-step process of producing a high-quality video podcast.
Hardware Setup:
1. Cameras:
Choose three cameras that offer excellent video quality. Whether it's DSLRs, camcorders, or high-quality webcams, strategic camera placement is crucial for capturing diverse angles.
2. Microphones:
Select three quality microphones to ensure clear and distinct audio. Proper placement of microphones near each speaker enhances audio quality significantly.
3. Capture Devices:
If your cameras have HDMI output, invest in HDMI capture devices for each camera to seamlessly connect them to your computer.
4. Tripods and Mounts:
Stabilize your cameras using tripods or mounts for steady shots, providing a more professional look to your video podcast.
Software Setup:
5. Video Editing Software:
Utilize professional video editing software such as Adobe Premiere Pro, Final Cut Pro, or DaVinci Resolve for seamless post-production.
6. Audio Editing Software:
Enhance and edit your podcast's audio using software like Audacity, Adobe Audition, or GarageBand.
7. Video Switching Software:
Manage multiple camera inputs with video switching software. OBS Studio is a popular, free option supporting multiple cameras.
8. Connect Cameras and Mics:
Connect cameras to your computer using appropriate cables and capture devices. Microphones can be connected via USB or audio interfaces.
9. Configure Video Switching Software:
Set up scenes in your video switching software, assigning each camera to a different scene. Configure transitions between scenes for a smooth visual experience.
10. Test Your Setup:
Before recording or going live, thoroughly test your setup to ensure all cameras and microphones are functioning correctly.
Recording:
11. Start Recording:
Commence recording once everything is set up and tested. Ensure synchronization between cameras and microphones for a seamless production.
12. Monitor Audio Levels:
Keep a vigilant eye on audio levels throughout the recording process to prevent clipping or other audio issues.
Post-Production:
13. Import Media into Video Editing Software:
Import your video and audio files into your chosen video editing software for post-production.
14. Sync Audio and Video:
Align audio and video tracks for perfect synchronization, ensuring a polished final product.
15. Edit and Enhance:
Edit the video, trim unnecessary segments, add graphics or overlays, and enhance audio quality for a professional finish.
16. Export the Final Video:
Export the final video in a suitable format for sharing on platforms like YouTube, Vimeo, or other podcast hosting services.
17. Upload and Share:
Share your professionally produced video podcast with your audience. Upload it to platforms like YouTube or a dedicated podcast hosting service.
Creating a video podcast with multiple cameras and microphones is a journey of continuous improvement. Regularly refine your setup based on feedback and evolving needs, and don't hesitate to experiment to find the perfect formula for your unique content.
Here's a list of equipement that you'd need to start you off
